Removing the Pole End Assembly - Studio, Pearl, and similar Frames
A longarmer recently contacted me - she had a Pearl (Baby Lock) 5 foot Frame and was upgrading to a 10 foot Frame - and could not figure out how to remove the pole end assembly to allow the new 5 ft section to be attached. The longarm Pole End Assemblies are easy to remove - but require a technique that is not readily apparent to most folks.
The steps below will take you through the process, and watch for a video on our YouTube channel to further help you.
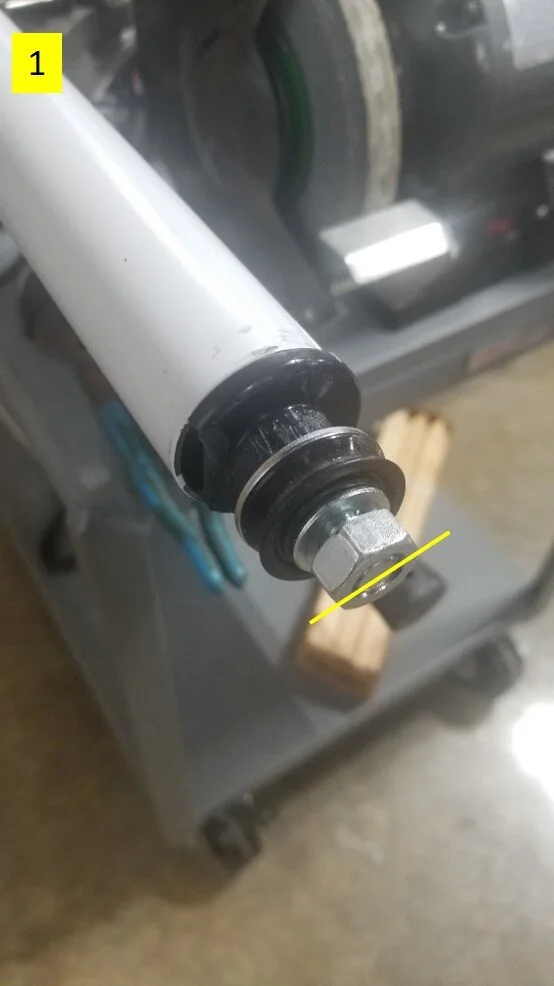
1: Loosen the nut and run it out to the end of the bolt (provides more surface area for step 2) - see Pic 1:
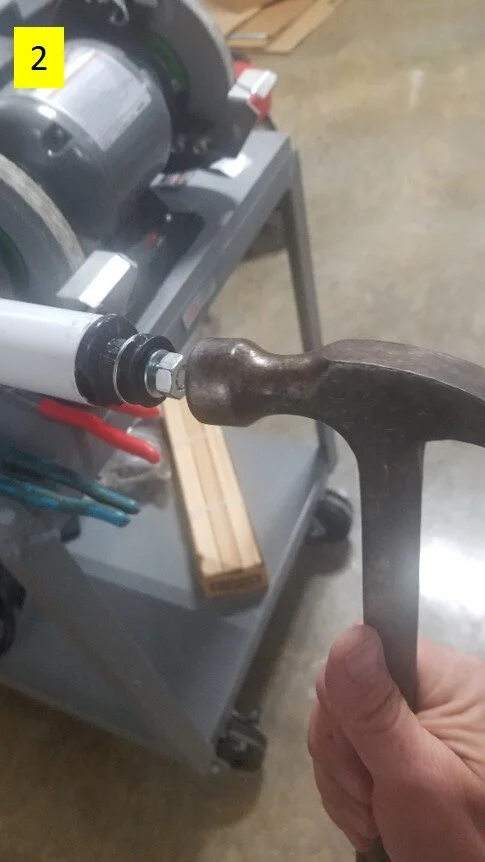
2: Gently tap the nut/bolt with a hammer – it should slide inside the pole until the nut stops it. (Pic 2)
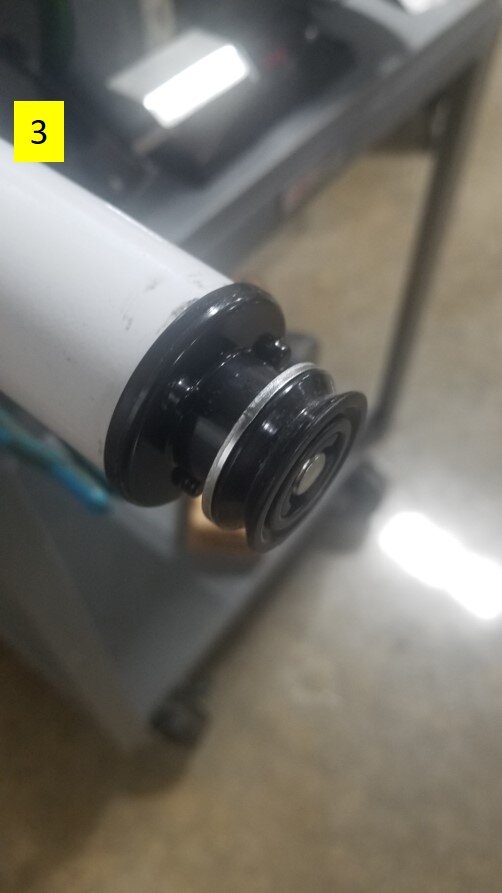
3: Remove the nut and tap the bolt until it is flush with the face of the insert. (Pic 3)
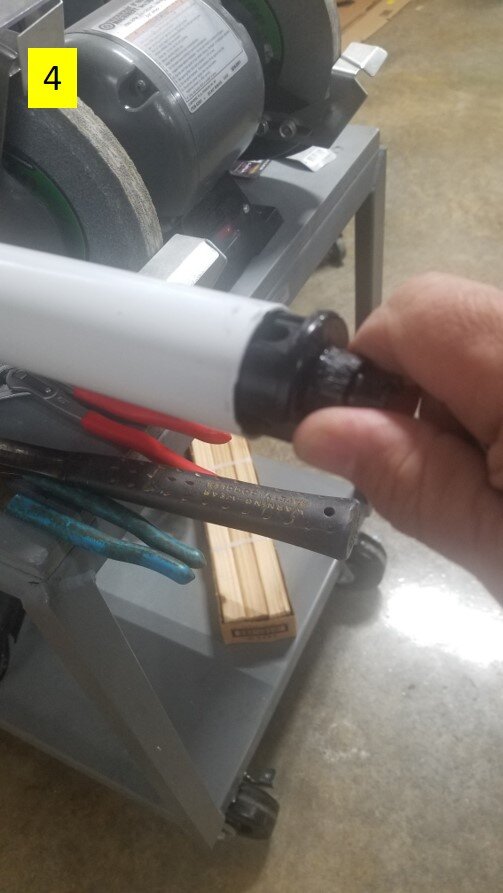
4. Gently pull the insert out – the bolt should remain inside the pole. (Pic 4)
5: Bolt and insert should remain inside the pole. (Pic 5)

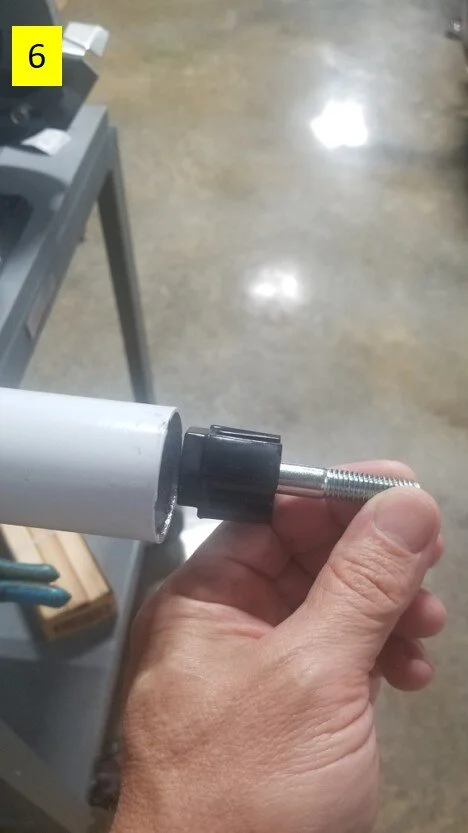
6. remove the bolt/insert (Pic 6)
7: Inner and outer inserts fit together as shown: (Pic 7)

Assembly is the reverse - one important tip - keep the pole tilted slightly down otherwise the inner insert may get pushed inside the pole requiring the outer one to be removed and the inner insert shaken out of the pole to allow you to start again, When the nut is tightened it pulls the inner insert into the outer insert, expanding the outer insert which clamps it to the inside of the pole.
If you have any questions on the procedure please use the link below to ask them, and, in the meantime…
Quilt on!
Quilt on!
Do you have questions on this topic or a suggestion for another one you are interested in?